Vacuum sealing sounds fancy, but it’s basically a simple habit that makes meal prep cleaner, cheaper, and less wasteful—as long as you do it the right way. The biggest beginner problems are always the same: liquid getting sucked into the machine, seals that pop open, and food still getting freezer burn.
This guide walks you through a reliable, beginner-friendly method—no product links, no brand hype, just what works.
Vacuum sealing is the best way I know to stop freezer burn and keep meal prep from turning into “mystery bags of ice.”
The trick isn’t the machine—it’s how you prep wet foods and how you seal.
Follow these steps and you’ll get tight seals with no leaks.
What You Need (Simple Checklist)
- Vacuum sealer + bags/rolls
- Scissors
- Paper towels (seriously essential)
- Marker for labeling
- Optional but very helpful: a baking sheet for “pre-freezing” wet foods
Step-by-Step: Vacuum Sealing for Meal Prep
Step 1: Choose the right bag size (give yourself room)
Cut the bag longer than you think you need:
- Leave at least 3–4 inches of extra space above the food.
- You need a clean, dry section for the seal.
Why this matters: cramped bags = food/juice near the seal = seal failures.
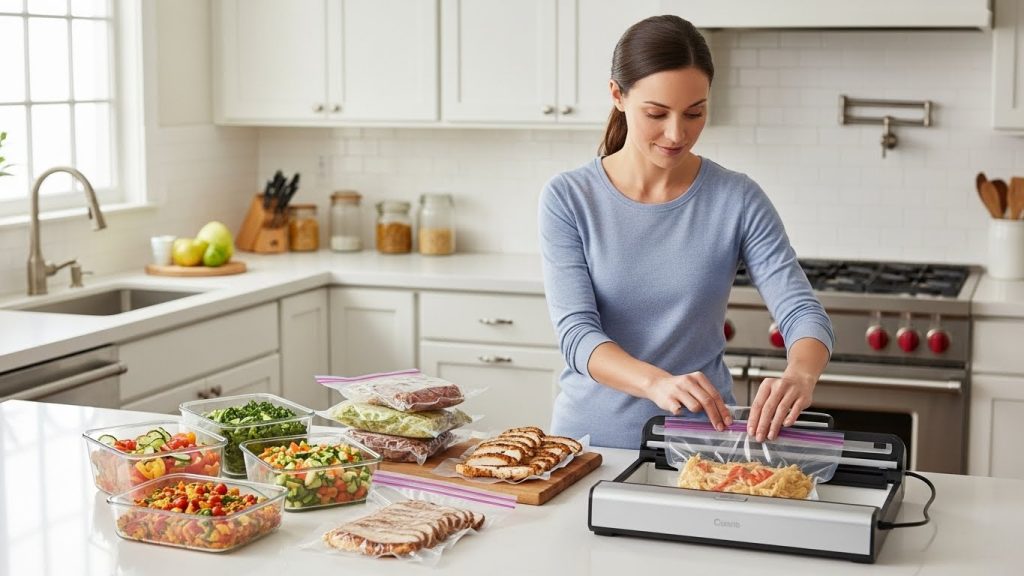
Step 2: Pre-portion your meals (this is where savings happen)
Portion like you’ll actually eat it:
- 1 chicken breast per bag (or 2, if that’s your normal serving)
- 1–2 cups cooked rice per bag
- Single-serving soup portions
- Flat packs of ground meat
Real-life tip: Smaller portions freeze and thaw faster, and you’ll waste less.
Step 3: Dry the sealing area (the #1 leak fix)
Before sealing:
- Fold the top edge of the bag outward like a cuff (prevents grease smearing the seal area)
- Fill bag
- Unfold cuff
- Use a paper towel to wipe the inside top edge dry
Rule: If the seal area is wet or greasy, the bag is more likely to fail.
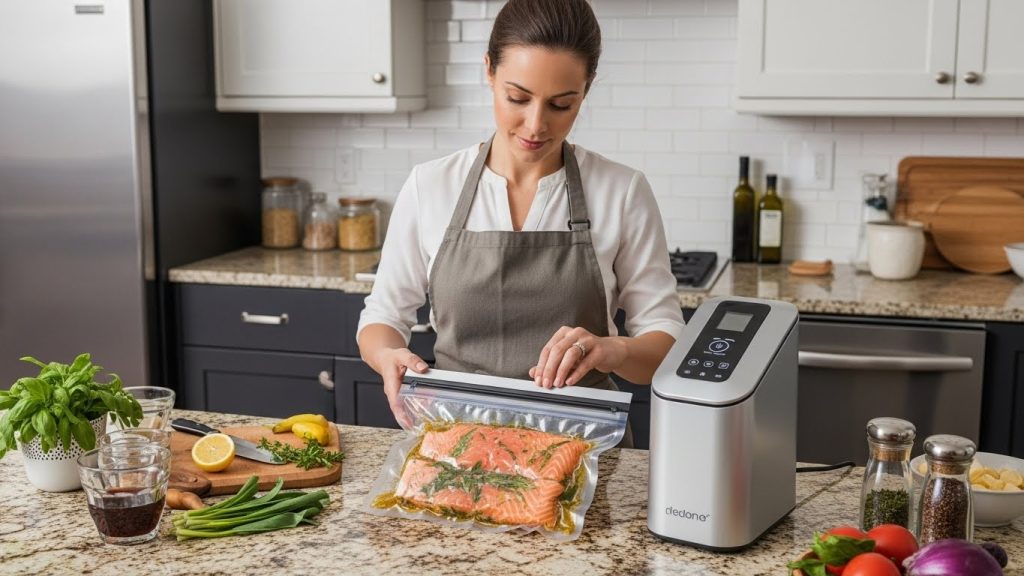
Step 4: Handle “wet foods” the right way (no more liquid disasters)
Wet foods include:
- marinated meats
- soups, stews, chili
- sauces
- juicy fruits
Best beginner method: pre-freeze first
- Place food in bag (or in a container to shape it)
- Lay flat on a baking sheet
- Freeze 30–90 minutes until it’s slushy or firm
- Vacuum seal after it’s semi-frozen
This prevents liquid from rushing toward the sealing strip.
Faster method (if your machine supports it): “Moist” mode
Even then, I still wipe the top dry and leave extra headspace.
Step 5: Seal it (two seals is your friend)
For everyday meal prep:
- Vacuum + seal once
- Then add a second seal line above the first (extra insurance)
When to always double-seal:
- liquids / sauces
- greasy foods
- long freezer storage
- anything you’d be sad to leak
Step 6: Check the seal (quick inspection)
A good seal looks:
- even
- smooth
- no wrinkles or gaps
- no food bits inside the seal line
Wrinkles = weak points. If it looks wrinkled, cut it and reseal.
Step 7: Label like future-you matters
Write:
- food name
- date
- portion size (optional)
- seasoning/spice level (optional but super helpful)
Example: “Chicken thighs – teriyaki – 2 pcs – 1/16”
Trust me: unlabeled bags become freezer roulette.
Step 8: Freeze flat (the best freezer burn prevention)
Lay bags flat until frozen solid.
Flat packs:
- stack neatly
- thaw faster
- don’t trap air pockets (air pockets = freezer burn)
Step-by-Step: Vacuum Sealing Common Meal Prep Foods
Chicken, steak, pork chops (raw)
- Pat dry (especially if marinated)
- Leave extra headspace
- Double-seal
- Freeze flat
Pro tip: If you marinate, freeze it slightly first to avoid liquid suction.
Ground meat (best value prep)
- Portion into 1-lb or half-lb packs
- Flatten into a thin sheet (thaws fast)
- Vacuum seal + double seal
Why it’s great: Ground meat freezer burn is common—vacuum sealing helps a lot.
Cooked rice / pasta
- Let cool completely
- Portion
- Vacuum seal (don’t crush it—gentle vacuum if possible)
- Freeze flat
Note: Rice can compress—don’t over-vacuum if your machine is aggressive.
Soups, stews, chili (no leaks method)
- Pour into bag (or freeze in a container first)
- Freeze until firm/slushy on a sheet
- Vacuum seal + double seal
Best practice: Make soup “bricks” and stack them. It’s weirdly satisfying.
Vegetables & fruit
- Blot moisture
- Portion
- Seal and freeze flat
Bonus: Great for smoothie packs.
How to Avoid Freezer Burn (What Actually Works)
Freezer burn is basically dehydration + oxidation from air exposure.
To prevent it:
- Remove as much air as possible
- Seal clean and double-seal wet/greasy foods
- Freeze quickly (flat bags help)
- Avoid opening/closing bags repeatedly (portion correctly)
Thawing Safely (Quick Guide)
- Best: thaw overnight in the fridge
- Fast: place sealed bag in cold water (change water every 30 minutes)
- Avoid: hot water for raw meats (unsafe temperature zone)
Cooking from frozen: Many foods can cook from frozen; just adjust time.
Common Problems (and Quick Fixes)
Problem: Liquid gets sucked into the machine
Fix:
- Pre-freeze 30–90 minutes
- Use “moist” mode if available
- Leave more headspace
Problem: Seal pops open in the freezer
Fix:
- Wipe the seal area dry
- Double-seal
- Avoid wrinkles (smooth bag before sealing)
Problem: Bag won’t vacuum tight
Fix:
- Check for punctures (bones, sharp edges)
- Use a thicker bag
- Make sure the bag is positioned correctly in the sealer
Problem: Food still gets freezer burn
Fix:
- Bag wasn’t fully sealed or had air pockets
- Freeze flat
- Double-seal and store deeper in freezer (less temp fluctuation)
My Honest Meal Prep Workflow (Simple + Repeatable)
- Cook proteins + carbs
- Cool completely
- Portion into bags
- Pre-freeze wet meals 1 hour
- Vacuum seal + double seal
- Label + freeze flat
That’s it. Once you do this twice, it becomes automatic.
FAQ
Do vacuum-sealed foods last longer?
Usually yes, because less air = less oxidation and freezer burn. But it doesn’t make food “forever safe”—still label and rotate.
Can I vacuum seal hot food?
Better to cool first. Hot food creates steam, which becomes moisture near the seal and can weaken it.
Do I need special bags?
Most vacuum sealers need textured/channeled bags for good suction. Check what your machine supports.