Pressure cookers look intimidating until you use one a few times. The truth is: modern Instant Pot–style cookers have a lot of built-in safety features—but you still need the right habits to avoid common mistakes (like food burn warnings, messy vents, or undercooked meals).
This guide is written like I’d explain it to a friend who just unboxed theirs.
Hook (quick reality check)
The #1 rule of pressure cooking is simple: steam has to build and stay inside.
If you block the vent, overfill the pot, or don’t use enough liquid, you’ll run into trouble fast.
What You Need Before You Start
1) Do a quick safety check (takes 30 seconds)
- Sealing ring: Make sure it’s seated evenly in the lid (no twists).
- Float valve: Press it gently—should move freely.
- Steam release valve/knob: Make sure it’s not stuck and can rotate.
- Inner pot: Always cook with the inner pot in place (never directly in the base).
2) Know your two steam positions
- Sealing: Builds pressure (used for pressure cooking).
- Venting: Releases steam (used for quick release and some non-pressure functions).
3) Use enough liquid
Most Instant Pot–style pressure cooking needs at least 1 to 1.5 cups of thin liquid (water, broth).
Thicker sauces (tomato, cream, sugar-heavy) can trigger burn warnings unless you layer them properly.
Step-by-Step: How to Pressure Cook Safely
Step 1: Add ingredients the “safe way”
Basic order that prevents problems:
- Thin liquid first (water/broth)
- Aromatics + proteins + veggies
- Thicker sauces last (do NOT stir them into the bottom if burn is a concern)
Golden rule: Don’t let thick sauces sit directly on the heating plate area. It can scorch before pressure builds.
Step 2: Don’t overfill (this matters a lot)
- General max fill: 2/3 full
- Foods that foam/expand (beans, rice, oats, pasta, soup): 1/2 full
- Never fill past the max line in the inner pot.
Overfilling can push foam into the valve and cause dangerous sputtering during release.
Step 3: Close and lock the lid properly
- Line up the lid, twist to lock.
- Set the steam release to Sealing (if your model requires manual setting).
If you forget sealing mode, the pot may never pressurize—it’ll just vent steam continuously.
Step 4: Choose the right mode + set time
Use Pressure Cook / Manual for most recipes.
Timing tip (my real-world approach)
If you’re unsure, start with a common baseline:
- Chicken thighs: ~10–12 minutes
- Chicken breast (whole): ~8–10 minutes
- Rice (white): ~3–5 minutes + natural release
- Stew meat: ~30–40 minutes
- Hard-boiled eggs: ~4–6 minutes (varies by method)
(Exact times vary by cut size and recipe—these are just “ballpark safe starting points.”)
Step 5: Wait for it to come to pressure (don’t rush it)
You’ll usually see:
- Heating phase (no pressure yet)
- Float valve rises (sealed)
- Timer starts counting down
Important: The countdown timer does NOT start until the pot reaches pressure.
If it takes forever, it usually means:
- Not enough liquid
- Lid not sealed
- Steam knob is venting
- Sealing ring not seated
Step-by-Step: Releasing Pressure Safely
This is where most people get nervous. Here’s the calm version.
Option A: Natural Release (NR) — safest for most beginners
You do nothing. The pressure drops on its own (often 10–25 minutes).
Use NR for:
- Soups
- Beans
- Rice/grains
- Anything foamy/starchy
- Large cuts of meat (keeps it tender)
Why it’s safer: less sputtering, less foam shooting upward.
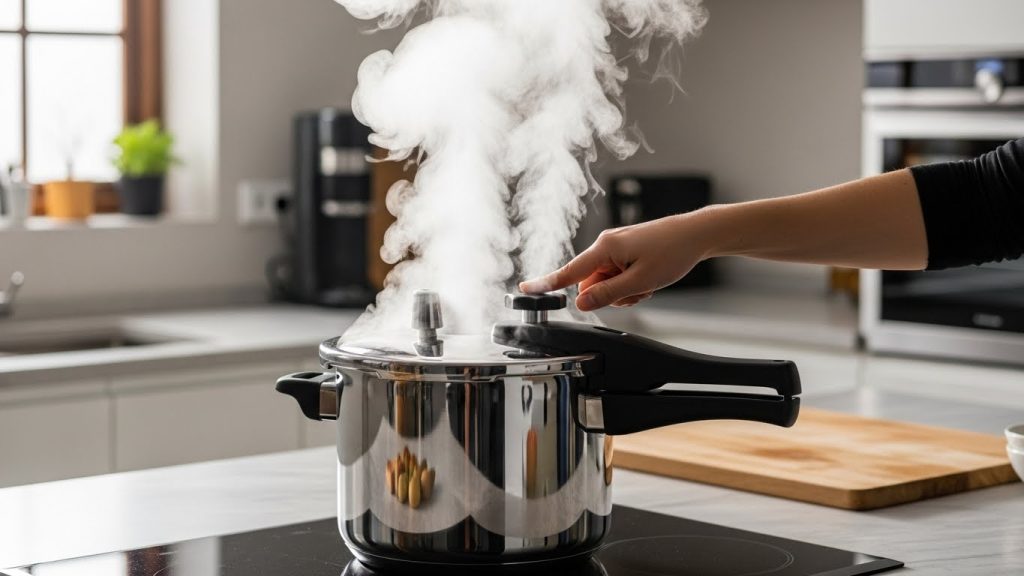
Option B: Quick Release (QR) — fast but needs caution
Carefully switch to Venting to release steam.
Use QR for:
- Veggies you don’t want overcooked
- Seafood
- Short cook items
- When recipe specifically says QR
Safety habits for QR:
- Keep your face and hands away from the steam path.
- Use a utensil (spoon handle) if you’re nervous.
- Do it under the kitchen hood if possible.
- If you see spurting liquid/foam: stop, switch back to sealing, wait 5 minutes, then try again.
Option C: 10-Minute Natural Release (the best “middle ground”)
Wait 10 minutes, then quick release the rest.
This is my go-to for:
- Chicken
- Pulled pork
- Many one-pot meals
It reduces violent steam release and improves texture.
Step 6: Open the lid safely
Only open when:
- Float valve is fully down
- No hissing sound
- Lid turns easily (never force it)
Open the lid away from you so the remaining steam doesn’t hit your face.
Safe Practices That Prevent 90% of Problems
1) Avoid “burn” warnings
- Always start with thin liquid at the bottom.
- Don’t stir thick sauces into the base.
- Deglaze after sautéing (scrape browned bits with liquid).
- If cooking pasta/rice, consider pot-in-pot or correct ratios.
2) Be careful with foam foods
For beans, oats, rice, pasta, and soups:
- Fill only halfway.
- Prefer natural release.
- Add oil only if recipe calls (it can reduce foaming but isn’t always necessary).
3) Keep the sealing ring clean (and separate by smell)
Sealing rings absorb odors.
- One ring for savory meals
- One ring for sweet foods (if you do a lot of desserts)
4) Clean the lid parts regularly
At least occasionally remove and rinse:
- Sealing ring
- Steam release valve
- Anti-block shield (if removable)
A clogged valve is rare, but cleaning prevents it.
Simple First-Time Test (Water Test)
If you’re brand new, do this once:
- Add 2 cups water
- Pressure cook 3 minutes
- Quick release
- Confirm float valve drops and lid opens normally
This builds confidence without risk.
Common Beginner Mistakes (and quick fixes)
Mistake: Pot won’t pressurize
Fix: Check sealing ring, ensure vent is set to sealing, confirm enough liquid.
Mistake: Steam leaking from the sides
Fix: Lid not fully locked or ring not seated—turn off, cool slightly, re-seat ring.
Mistake: Spitting liquid during quick release
Fix: Stop venting, wait 5–10 minutes, then try again or do natural release.
Mistake: Food is undercooked
Fix: Close it back up and add a few more minutes (this is normal—don’t panic).
My Honest “Real Life” Tips
- Pressure cooking is forgiving—you can always add time.
- Natural release saves you from most messes and gives better texture for meats and grains.
- The pot is safest when you respect the fill lines and don’t rush the vent.
Quick Safety Checklist (save this)
- ✅ Sealing ring seated correctly
- ✅ Enough thin liquid (usually 1–1.5 cups minimum)
- ✅ Fill under 2/3 (or 1/2 for foamy foods)
- ✅ Vent set to sealing for pressure cooking
- ✅ Don’t force lid—float valve must drop first
- ✅ Keep hands/face away from vent during quick release